Projekt, Wie tun
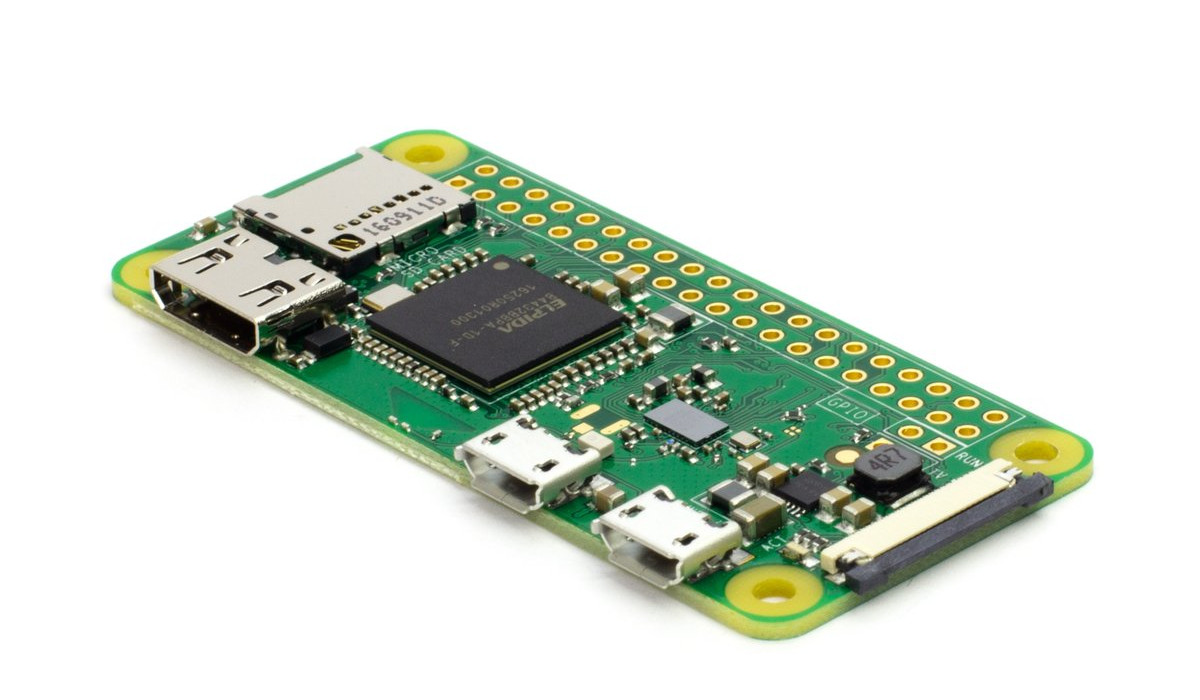
RPi Zero W, schnell Grundkonfiguration für WIFI, SSH und Kamera 8MP NOIR mit sondern fisheye Objektiv
Table of Contents
Grundkonfiguration mit der Kommandozeile und per SSH
Contents


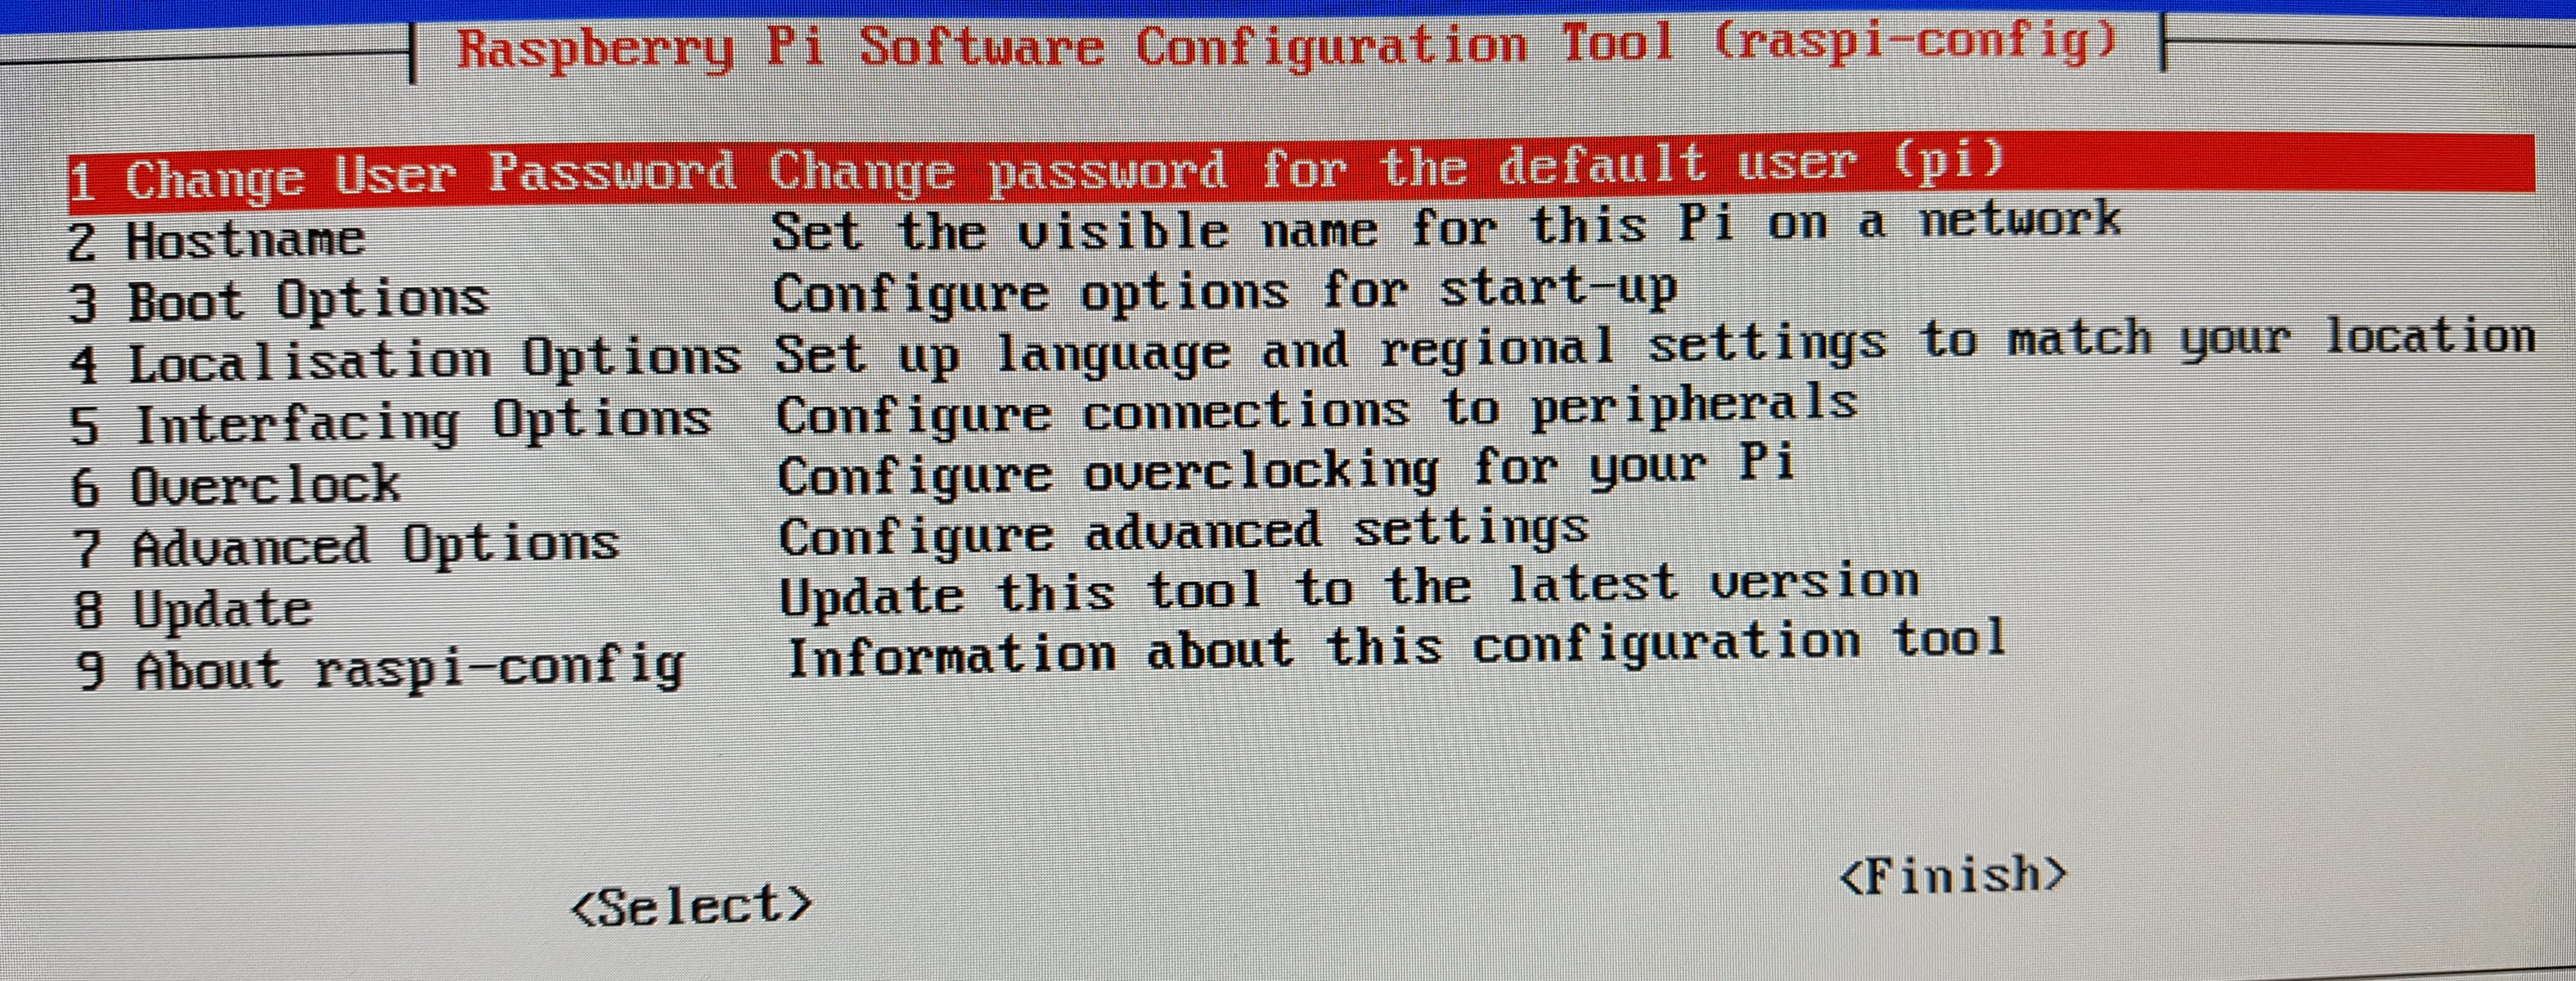
Für die grundlegende Konfiguration bringt Raspbian das Kommandozeilen-Tool „Raspberry Pi Software Configuration Tool“ mit, mit dem sich die wichtigen Dinge schnell konfigurieren lassen, ohne dass man komplizierte Kommandos auf der Kommandozeile eingeben muss.
Login auf Raspberry Pi
Login: pi

Passwort: raspberry
sehr wichtig ist wissen, dass EN -keyboard as default ist:
z <=> y
ß <=> –
Grundkonfiguration: Schritt für Schritt
sudo raspi-config
Je nach Anwendung und Anforderung können sich zusätzliche oder abweichende Konfigurationsschritte ergeben.
- Sprache ändern
- Tastatur-Belegung ändern
- Zeitzone ändern
- WLAN-Ländercode ändern
- Standard-Passwort ändern
- Hostname ändern (optional)
- SSH aktivieren und SSH-Schlüssel neu erstellen (optional)
- Kamera aktivieren (optional)
- Bildschirm-Auflösung einstellen (optional)
- Dateisystem erweitern (optional)
- Software aktualisieren
1. Sprache ändern
Hier wählt man in den Feldern folgende Werte aus:
- Sprache (Language): de (German)
- Land (Country): DE (Germany)
- Zeichenvorrat (Character Set): UTF-8
2. Tastatur-Belegung ändern
Hier wählt man in den Feldern folgende Werte aus:
- Land (Country): Germany / Deutschland
- Variante (Variant): German / Deutsch
3. Zeitzone ändern
Hier wählt man in den Feldern folgende Werte aus:
- Gebiet (Area): Europe
- Standort (Location): Berlin
4. WLAN-Länder-Code ändern
Hier wählt man in den Feldern folgende Werte aus:
- Land (Country): DE Germany
Hinweis: Bleibt der Länder-Code auf dem standardmäßigen Wert „GB“, dann kann es sein, dass der integrierte und externe WLAN-Adapter in Deutschland keine WLANs erkennen.
5. Standard-Passwort ändern
Hinweis: Nach der ersten Inbetriebnahme eine Raspberry Pi wird generell empfohlen das Standard-Passwort des Benutzers „pi“ zu ändern. Wenn man es auf „raspberry“ belässt, dann können auch fremde Personen auf den Raspberry Pi zugreifen. Und das sowohl lokal per Bildschirm und Tastatur, als auch per SSH übers Netzwerk.
6. Hostname ändern (optional)
Der Hostname legt fest, unter welchem Computernamen der Raspberry Pi im Netzwerk erreichbar ist. Standardmäßig hat ein frisches Raspbian den Hostnamen „raspberrypi“. Das möchte man vielleicht ändern. Zum Beispiel dann, wenn man mehrere betreibt. Dann möchte man sie vielleicht vom Namen her unterscheiden.
Wenn man es manuell machen möchte:
sudo hostname -b {NEUER_NAME}
Danach kurz prüfen:
hostname
Hinweis: Es empfiehlt sich, den Hostnamen über das Raspberry-Pi-Konfigurationstool zu ändern.
Camera
Oryginalbild
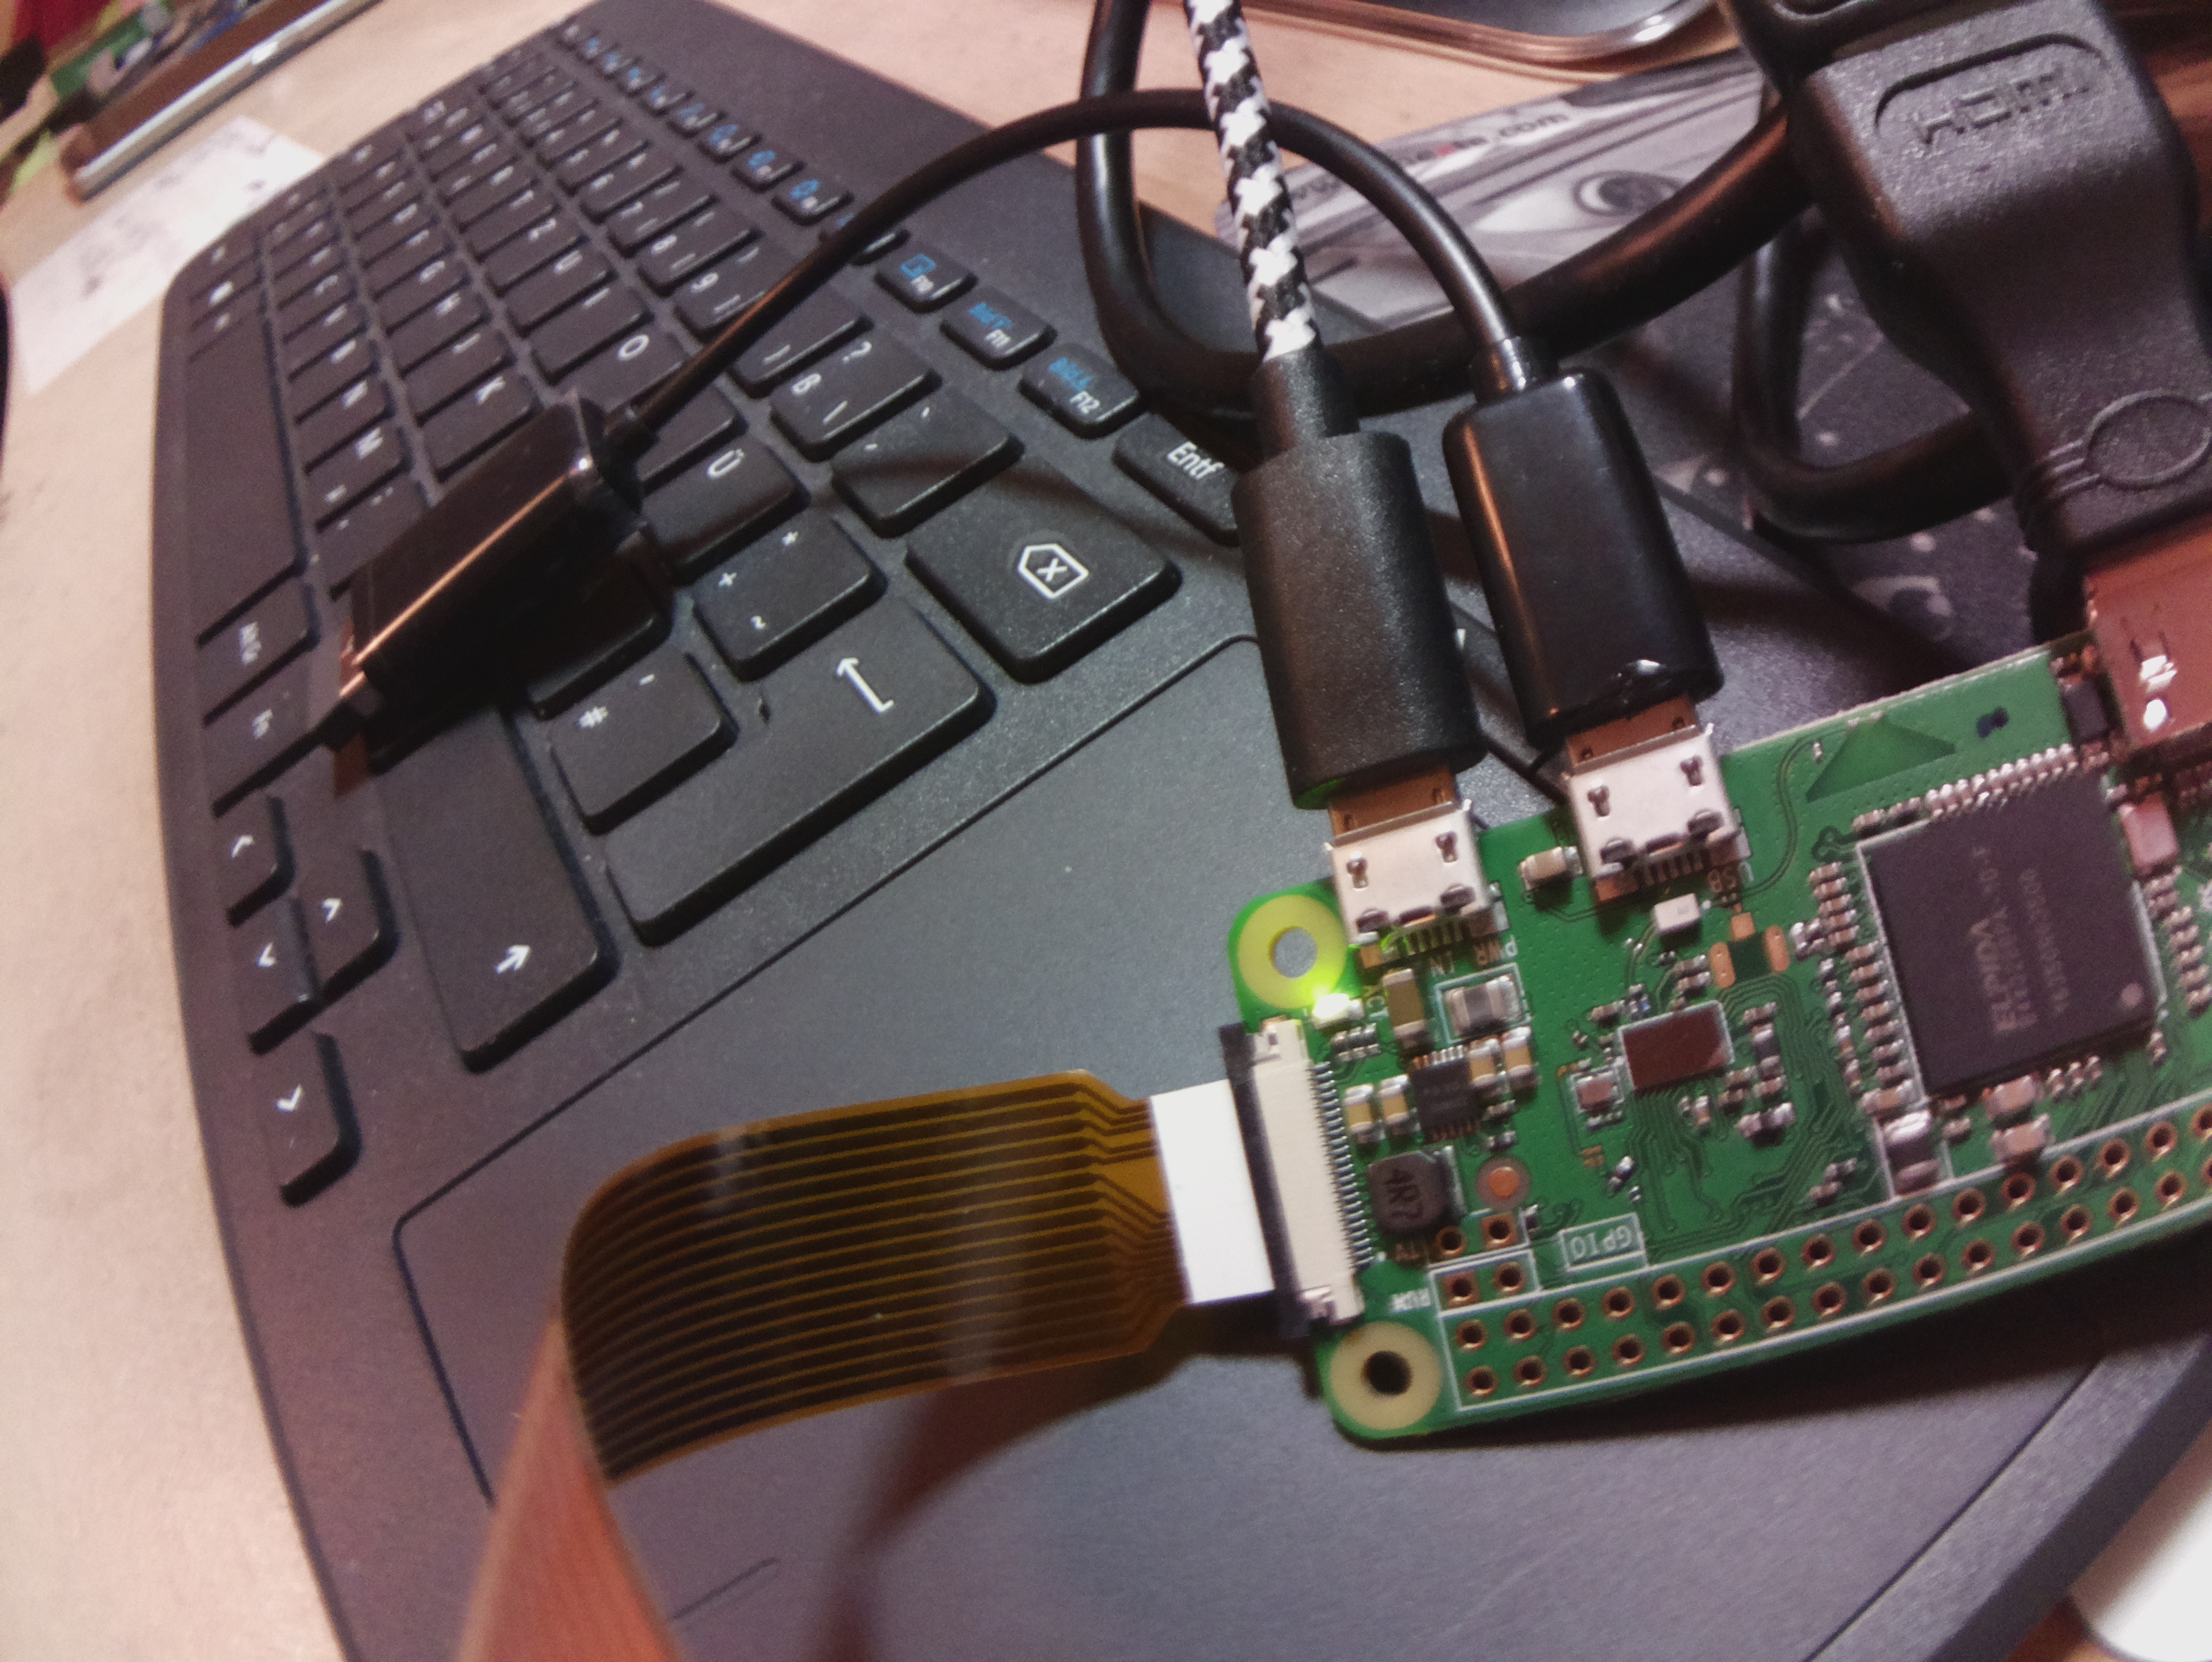
Nun muss noch der Kamera-Support in Raspbian aktiviert werden, was am Einfachsten über das Konfigurationstools raspi-config erledigt wird. Dort einfach die Kamera auf „Enable“ setzen. Zum Abschluss muss der Raspberry Pi noch rebootet werden, damit die Kamera genutzt werden kann.
HARDWARE SPECIFICATION
| Camera Module v1 | Camera Module v2 | |
|---|---|---|
| Net price | $25 | $25 |
| Size | Around 25 × 24 × 9 mm | |
| Weight | 3g | 3g |
| Still resolution | 5 Megapixels | 8 Megapixels |
| Video modes | 1080p30, 720p60 and 640 × 480p60/90 | 1080p30, 720p60 and 640 × 480p60/90 |
| Linux integration | V4L2 driver available | V4L2 driver available |
| C programming API | OpenMAX IL and others available | OpenMAX IL and others available |
| Sensor | OmniVision OV5647 | Sony IMX219 |
| Sensor resolution | 2592 × 1944 pixels | 3280 × 2464 pixels |
| Sensor image area | 3.76 × 2.74 mm | 3.68 x 2.76 mm (4.6 mm diagonal) |
| Pixel size | 1.4 µm × 1.4 µm | 1.12 µm x 1.12 µm |
| Optical size | 1/4″ | 1/4″ |
| Full-frame SLR lens equivalent | 35 mm | |
| S/N ratio | 36 dB | |
| Dynamic range | 67 dB @ 8x gain | |
| Sensitivity | 680 mV/lux-sec | |
| Dark current | 16 mV/sec @ 60 C | |
| Well capacity | 4.3 Ke- | |
| Fixed focus | 1 m to infinity | |
| Focal length | 3.60 mm /- 0.01 | 3.04 mm |
| Horizontal field of view | 53.50 /- 0.13 degrees | 62.2 degrees |
| Vertical field of view | 41.41 /- 0.11 degrees | 48.8 degrees |
| Focal ratio (F-Stop) | 2.9 | 2.0 |
more oon: https://www.raspberrypi.org/documentation/hardware/camera/
Wenn Sie die rote Aufnahme-LED stört, können Sie diese deaktivieren. Dazu ist ein neuer Eintrag in der Datei /boot/config.txt mit anschließendem Neustart notwendig:
disable_camera_led=1
# Aufnahme im JPG-Format (default)
raspistill -o image.jpg

# Aufnahme in anderen Formaten mit -e <Format>
# möglich sind: jpg, bmp, gif und png, z. B.
raspistill –e png -o image.png

# Aufnahme ohne Preview mit -n oder --nopreview
raspistill -n -o image.jpg

# Zeitverzögerte Aufnahme mit -t <Millisekunden>
# ACHTUNG: Default ist -t 5000, wenn es schnell gehen
# soll, dann -t 0 verwenden
raspistill  -t 2000 -o image.jpg

# Aufnahme in einer niedrigeren Auflösung mit -w und -h
# z. B. 640 x 480 pixel
raspistill  -w 640 -h 480 -o image.jpg

# Aufnahme in einer niedrigeren Qualität (Angabe in %-Werten)
raspistill -q 50 -o image.jpg
http://www.netzmafia.de/skripten/hardware/RasPi/RasPi_Kamera.html
Settings for Wifi
https://www.thepolyglotdeveloper.com/2016/02/use-your-raspberry-pi-as-a-headless-system-without-a-monitor/
|
sudo iwlist wlan0 scan
|
This will tell you all the available networks. We did this just to test that it is working because we probably already know the SSID of the network we want.
Using VI for Linux, execute the following over SSH:
o key on the keyboard, type the stuff in, then press esc followed by :wq which means write and quit. You don’t have to use VI, you can use Nano if you want instead.sudo nano /etc/wpa_supplicant/wpa_supplicant.conf
Or technically you can use anything you want.
The file probably won’t be empty. Go to the bottom of the file. A shortcut for this can be done by hitting Shift G. When you’re at the bottom, add the following new lines:
When you’ve done this, power down the Raspberry Pi by executing the following over SSH:
Start with Camera


